The main objective of this page is to demonstrate how to create a HTTPS configuration for your terminal. HTTPS configuration is more secure, since it encrypts the data being transferred and protecting against phishing attacks.
Datafox HTTPS Certificate Configuration
Objective
Prerequisites
- You are system administrator
- All other tutorials of the Datafox setup are done
- You have installed Datafox Studio app
- You have your Terminal at hand
- You have access to portal.azure.com
Click Through
- Start in portal.azure.com (We recommend to use Firefox as a browser for this tutorial)
- Search for Function App in the search bar
- Click on the function app that was created for your Datafox integration
- Under Default domain, click on the URL
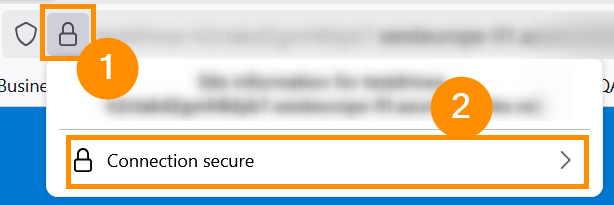
- In the search bar of your browser, click on the lock icon in front of the URL
- Click on Connection secure (Screenshot)
- Click on More information
- Click on Security tab
- Click on View certificate
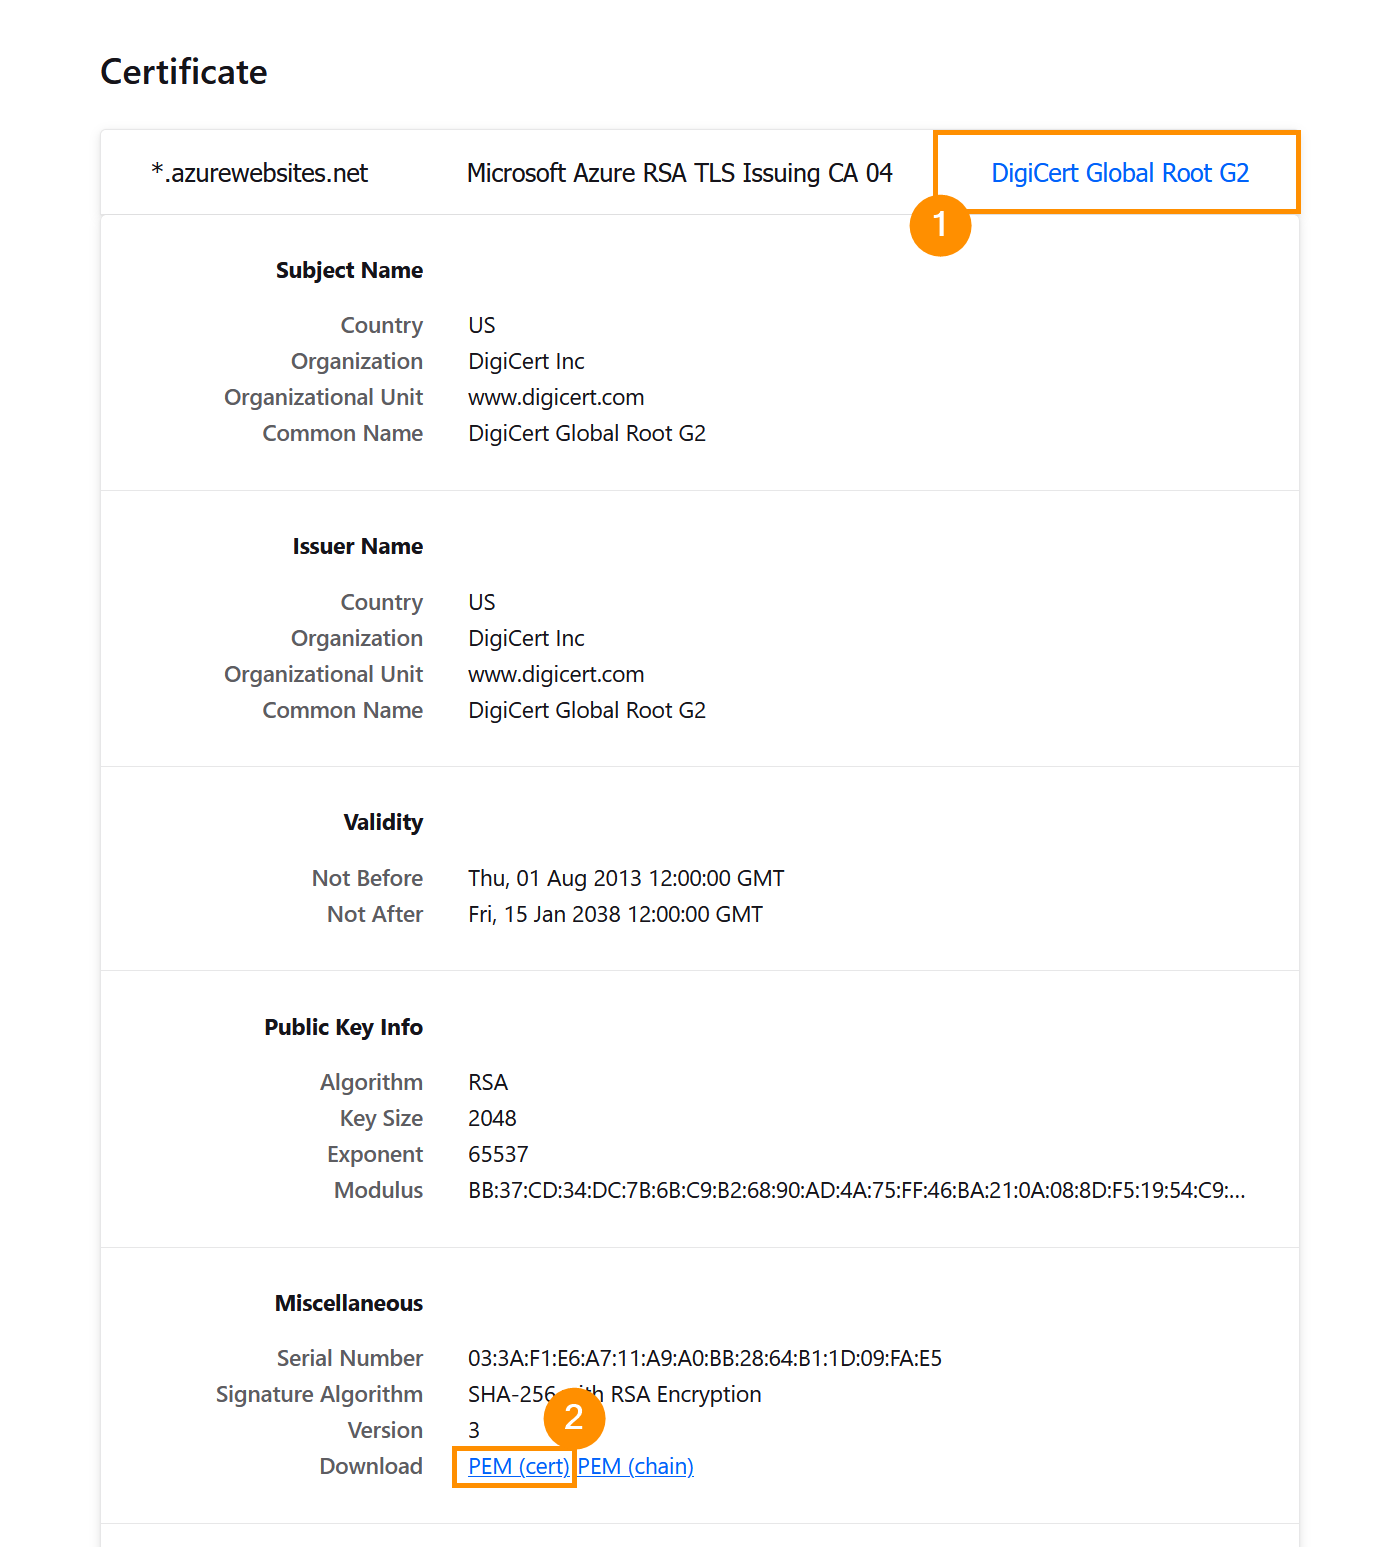
- Click on DigiCert Global Root G2 tab in the new window
- In miscellaneous section under Download, select PEM (cert) hyperlink (Screenshot)
- Repeat this process for the tabs *azurewebsites.net and Microsoft Azure RSA TLS Issuing CA 04
- Go to your downloads
- Select the files one by one
- Change the end of each files name from .pem to .cert (Screenshot)
- Ignore the warning message and click YES
- Create a new Folder and put only the file you just renamed in it
- Go to Datafox Studio
- Click on Configuration
- Click on Certificates for HTTPS
- Click on Write certificates files
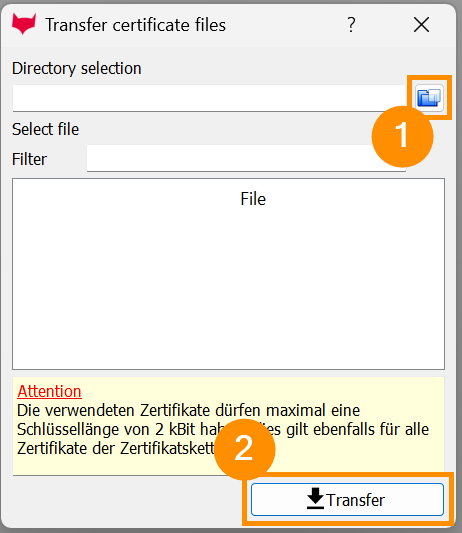
- Click on the folder icon (top right)
- Select the folder where the file was saved (with the name changed to .cert)
- Click on Transfer (Screenshot)
- Choose the correct device
- Click on Perform
- Click on Close after the operation is done
- Close the window
Recommendations
- We recommend to do this configuration on Firefox, because the process is easier.
Result
After this step, the terminal configuration is done.